
An ambigram is a typographic design or art form that may be read as one or more words in their original form and from a different perspective, direction, or orientation.
The words are seen from the opposite viewpoint; direction or orientation may be the same or different
from the original text. The term is quite new.
Ambigrams history dates back to the early 1980s with Indiana professor Douglas Hofstadter and his
associates. John Langdon and Scott Kim are two graphic designers linked with this drawing style.
If you’re interested in learning more about ambigrams and how to make them, here’s how you can make ambigrams from scratch!
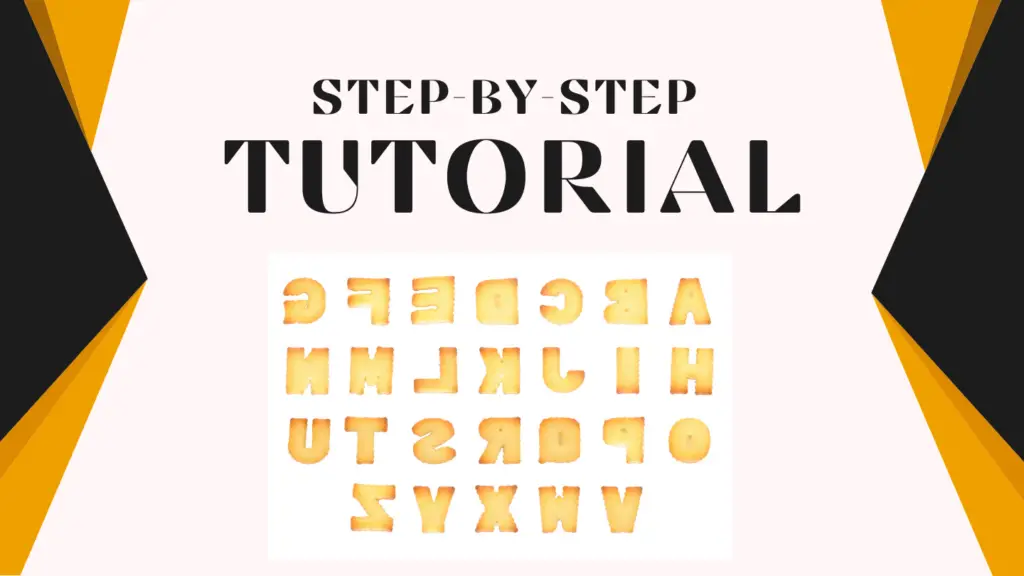
Step-By-Step Tutorial
Pick A Word
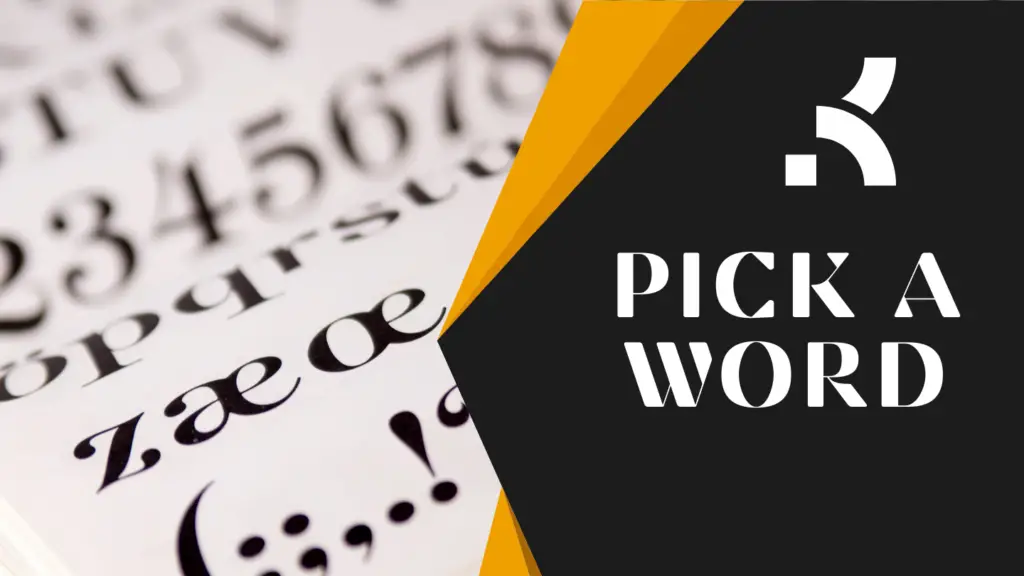
Choose a word to make into an ambigram. If this is your first try at creating an ambigram, choose a word
that is on the shorter side.
Longer words provide additional difficulties since you have to make more letters appear to like each other.
If someone is constructing an ambigram for personal reasons, they may pick their name; this is also a
possibility.
Write It Out
Write your sentence properly, in capital letters, and upside down. Write it so that one spelling of the
word is directly above the other.
It’s also good to write the term in upper case and cursive. This allows you to see which letters may be
easily transformed into others.
This method is the same whether you are building a reversing ambigram or an upside-down ambigram
because you are just becoming clear on which letters must convert into each other at this point.
Select An Acceptable Font
Choosing which typeface is determined by how quickly you can adjust it and the desired outcome. Do
we prefer an elaborate or no-frills look?
Sans serif fonts can withstand more changes than serif fonts or Fraktur typefaces. It is a geometric and
condensed typeface with excellent reading characteristics.
Pick Letters Out
Determine whether you should unite any letters into one. Combining letters makes the ambigram more
beautiful, making it much more complex.
If you want to make things easy, just couple individual letters together. Because you have joined the ‘a’
and the ‘t,’ the letter ‘g’ will become ‘at’ when viewed from a different angle.
Combining letters is a little more difficult, so stick to converting one letter at a time if you’re just getting
started.
Begin Designing

Experiment with different forms and accentuate certain elements of the letters to make them appear
more like their paired counterparts.
This is when the creative aspect of the ambigram truly comes into play, so be as imaginative as you can.
Don’t feel rushed to discover a solution; instead, enjoy the process of understanding how letters might
morph.
Consider using an ambigram generator to get ideas or searching for ambigrams of similar phrases to see
how individuals solve specific letter combinations.
Experiment
It is difficult, if not impossible, to predict the final product and work required in any creative endeavor.
The creative process is more efficient when you are aware of essential diversions based on experience
yet remain open-minded.
You can gently press the letters together, produce negative spaces from the overlapping sections, alter
stroke weights, simplify, rotate and compare the pieces several times to achieve the final look.
Refine
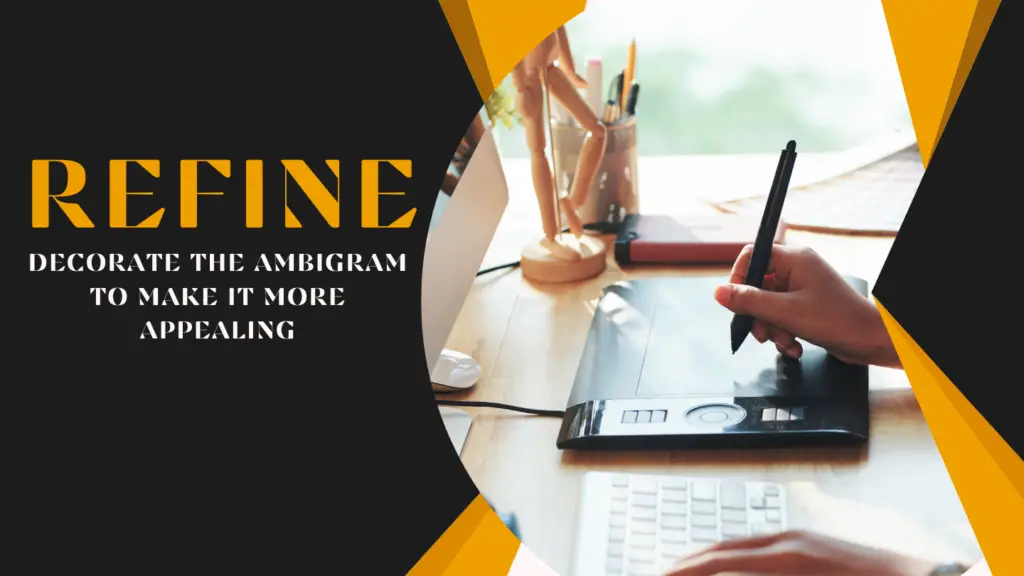
Decorate the ambigram to make it more appealing. After you’ve tested how the ambigram fits together,
you may embellish it further.
Look for ways to emphasize the tails and peculiarities of letters, as seen in intricate writing techniques
such as calligraphy.
Ambigrams are works of art therefore now is your time to truly transform the word into a work of
beauty and make it flow.
Remember that not every typographic style will work with every single ambigram, so be prepared to re-
evaluate the style you’re using. Creating ambigrams is a time-consuming procedure!
